
The process of creating a specific model should initially meet our customer expectation by working all the details in order to develop a specific design and make a product perfectly unique and identifiable.
At SEVAM, we are constantly looking for the most innovative solutions to achieve your projects.
Model customization through several steps
MODEL DEFINITION
You are entitled to several customization options:

Bottle
engraving option on body, bottom and ring

Food jar
engraving option on body and bottom

Glass tableware
Glass engraving option
This process allows printing enamels on typically smooth decorative surfaces in a maximum range of 5 to 6 colors and guarantee beautiful results with good hold and shining decorations.
Decoration option on the smooth and flat surface of the object with enamels and a maximum variety of 6 colors
Decoration option on the smooth and flat surface of the object with enamels and a maximum variety of 6 colors.
Decoration option on the smooth and flat surface of the object with enamels and a maximum variety of 5 colors.

It’s very important to choose the appropriate color and tint, not only for obtaining the desired aesthetic appearance, but also for maintaining of certain photosensitive contents.
4 main colors are available: White, Green, Deep Brown and Amber, new variations are possible with a quantitative threshold.
available in half-white color.
available in half-white and extra-white colors.
Project Development Process
- 1
Elaboration of a proposal to describe all the customer’s needs
- 2
Technical drawing preparation and sending to the design and schema office in order to study the feasibility of the project
- 3
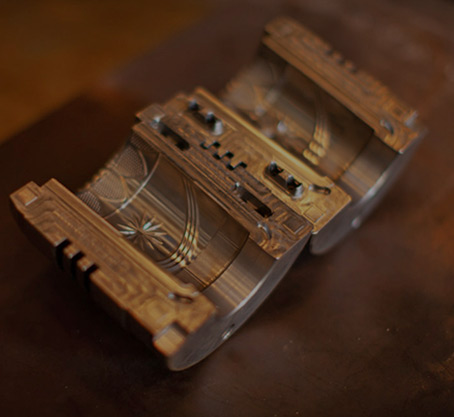
Silicone prototype manufacturing in order to validate the object dimensional characteristics by the customer.
- 4
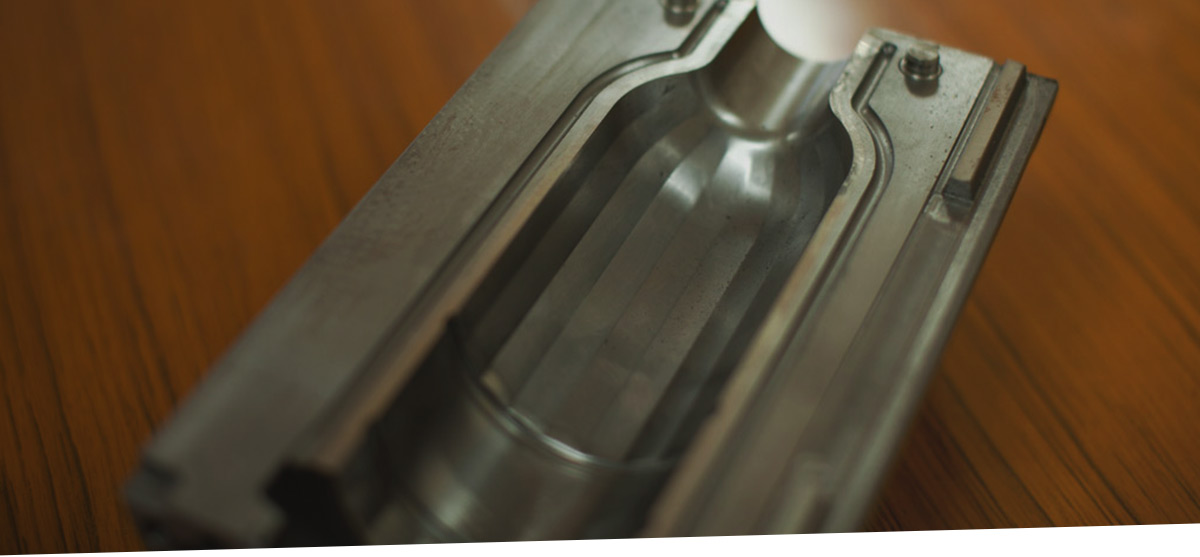
Sending all the elements to the mold maker after preparation of molding process.
- 5
Commercial estimate preparation and molding cost validation by the customer
- 6
Prepress proofing order from the client.
- 7
Reception of the trial mold after the client prepress proofing order and notification of estimated dates of tooling manufacturing.
- 8
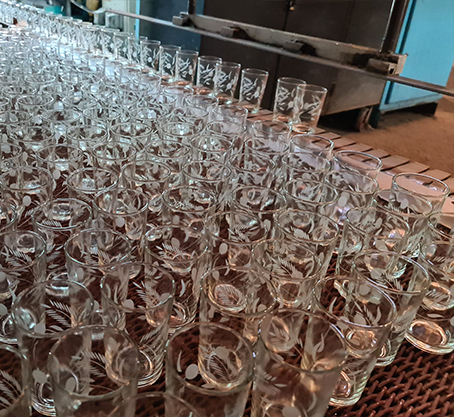
Launch of a test section based on manufacturing few glass product samples intended to client physical validation.
- 9
After samples validation and beforehand molding payment, the client is invited to sign the final prepress proofing in order to launch the molding process.
- 10
After receiving the complete molding authorization, the new project is launched with rigorous quality monitoring throughout the entire production chain